Tuesday 19 March 2013

Macro Keyboard Demo

Here's another demo app: MacroKeyboard, again using USB Keyboard emulation. First, let's start with a video:
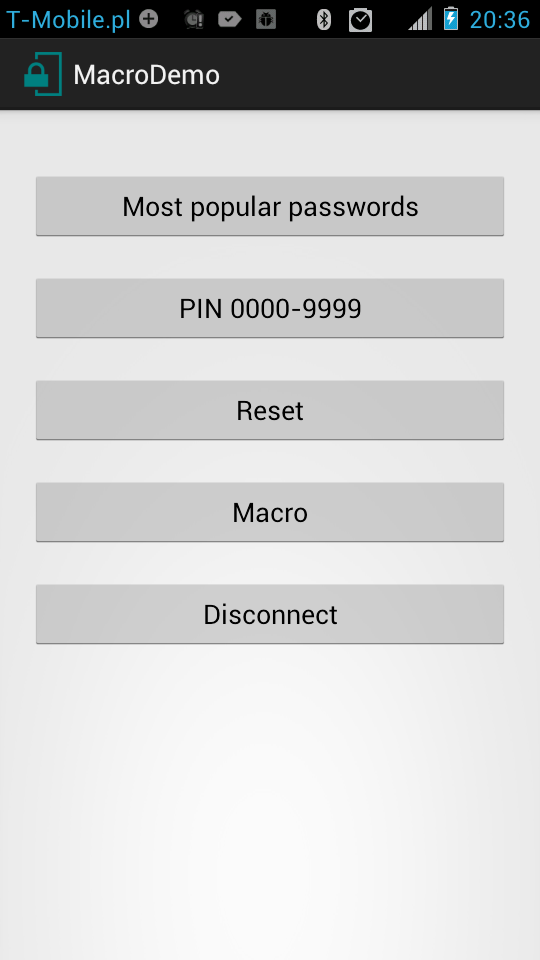


Main activity.

 
By pressing first button, application uses InputStick to type consecutive passwords form the TOP25 passwords list, each followed with "Enter" key. Second button allows to brute force 4 digit PIN code, by typing all possible codes from 0000 to 9999, again "Enter" is pressed after each combination . If you want to start over from "0000" or from first password from the list, use "Reset" button.
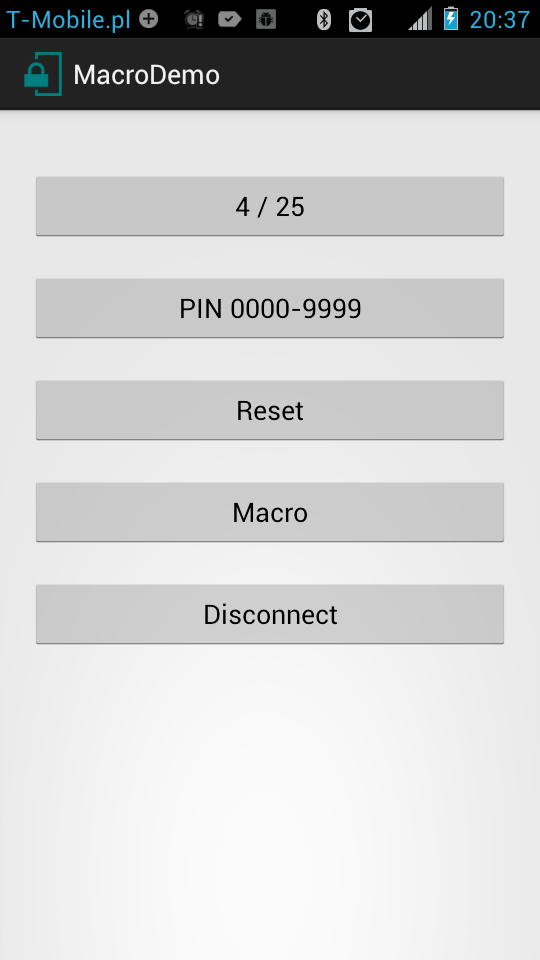

Trying to brute force password, using "TOP25 passwords" list.


Trying to brute force 4 digit PIN code.


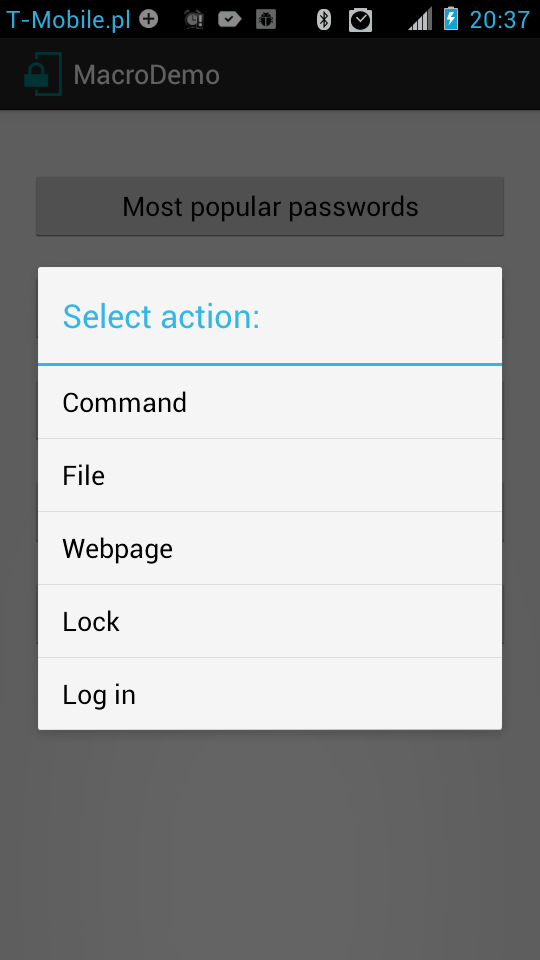
Now let's see what can be done using "Macro" button. Note: I've made an assumption that target machine runs on Windows OS.


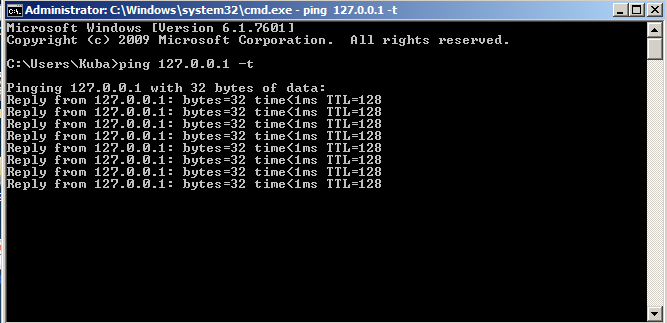
First option allows to enter command using command prompt. To open command prompt application uses InputStick to enter WIN+R combination (which opens "Run" dialog), type "cmd" and press "Enter" key. As a result, command prompt window appears. Now command can by entered, in this example: "ping 127.0.0.1 -t", and finally "Enter" key is pressed.


Second option allows to store a file on local file system. First step is the same as in previous case, except this time "notepad" is launched. Now application can type content of file to be saved. Finally "Ctrl+s" combination is pressed to launch "Save As..." dialog window, application types absolute path and a file name, for example: "C:\script.txt" and "Enter" key is pressed to confirm.


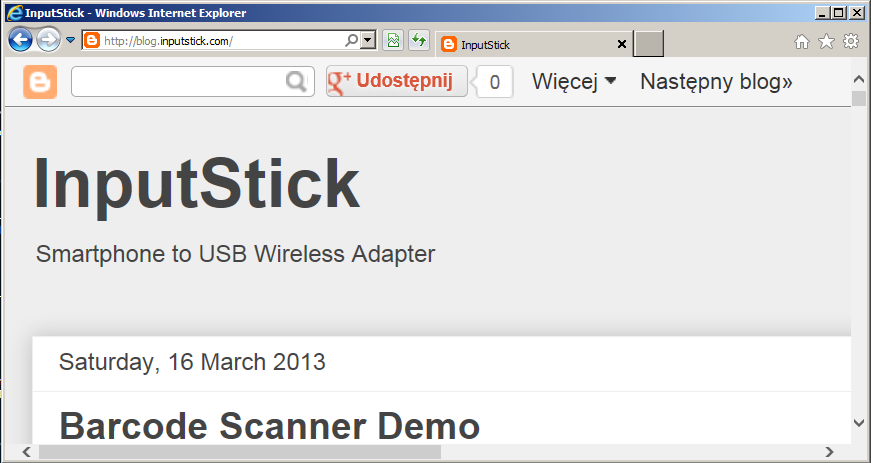
"Webpage" option allows to open Internet Explorer browser and go to a specified web address. Again, "Run" dialog is launched. This time, application types "iexplore blog.inputstick.com" and presses "Enter", what results in opening my blog in Internet Explorer browser.


Finally, there are "Lock" and "Log in" options. First one uses WIN+L combination to lock current session, wile the other one types my Windows password and presses "Enter" key. This allows to create proximity lock app, using NFC tags: lock session when phone is taken away from tag, unlock session when tag is again in NFCs range. Unfortunately my Motorola RAZR doesn't support NFC :(
 

Saturday 16 March 2013

Barcode Scanner Demo

This simple app demonstrates one of many applications for USB keyboard class. Generally it is no different from any other basic barcode scanner app, however it is able to use InputStick to emulate USB keyboard and use it to type scanned codes. For example: it can type scanned codes directly into spreadsheet application (Calc/Excel). There is no need to install any programs or drivers on PC, just plug InputStick into USB port. What's also important it will work with any OS (Windows/Linux/MacOS/Android etc). App uses ZXing library for scanning barcodes/QR-codes. Now a quick overview:


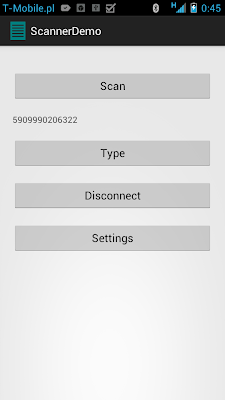
Main activity.

In Main activity there are four buttons: "Scan" to scan barcode/QR code, "Type" to type result, "Connect" to initiate connection to InputStick device and finally "Settings" to open Settings activity.


Settings activity

Here we can configure applications behaviour. I think checkboxes are pretty much self explanatory. OK, lets see how it works. After pressing "Scan" button we can use phone to scan a code, which will then appear below "Scan" button. We can use "Type" button to type it using InputStick.


After scanning code.

Spreadsheet application (Open Office Calc).


Wednesday 6 March 2013

DeviceManager application


Recently I've been working with both InputStick prototypes, what forced me to constantly change MAC address in my development/demo apps, what became really annoying. The same situation will occur when someone has more than one InputStick device, for example: one at his office, few more at home (for PC, laptop, game console). Of course you could use just one, but in such case you have to remember to remove it and carry with you. I've decided that it is necessary to add support for more than one InputStick device. I came up with an idea of InputStick DeviceManager application, which will allow user to easily manage InputStick devices and choose a device which he wants to use at a given time. Introducing DeviceManager app will also reduce code/time necessary to add support for InputStick in an Android application: now its enough to call DeviceManager via intent to get MAC address of device which user wants to use. So let's take a look at how DeviceManager looks and what functionality it offers:


DevicesList: list of all associated InputStick devices.


DeviceProperties: this activity allows to edit basic device properties: name and type. Possible types are: Home, Office, Travel, Other. This allows to associate given device with its most common use case.


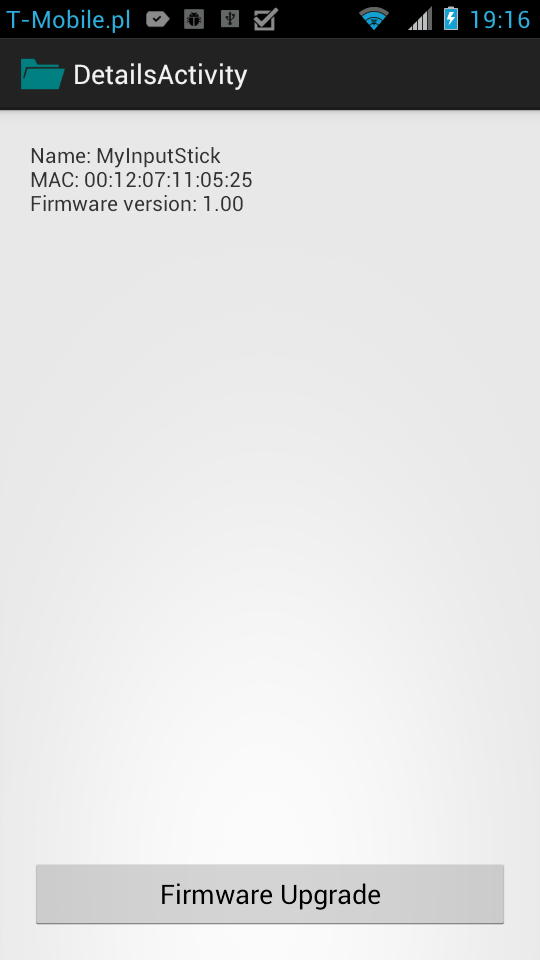
DeviceDetails: displays detailed device information (firmware version etc).


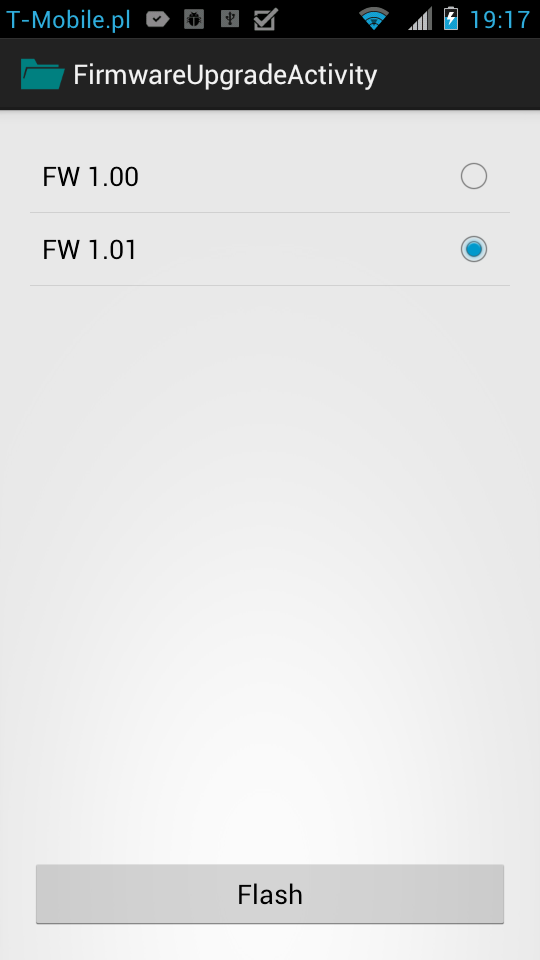
FirmwareUpgrade: allows to flash firmware via Bluetooth, there is no need to disassemble device and connect debugger interface. Really important feature, since now when new firmware is released anyone is able to flash it.


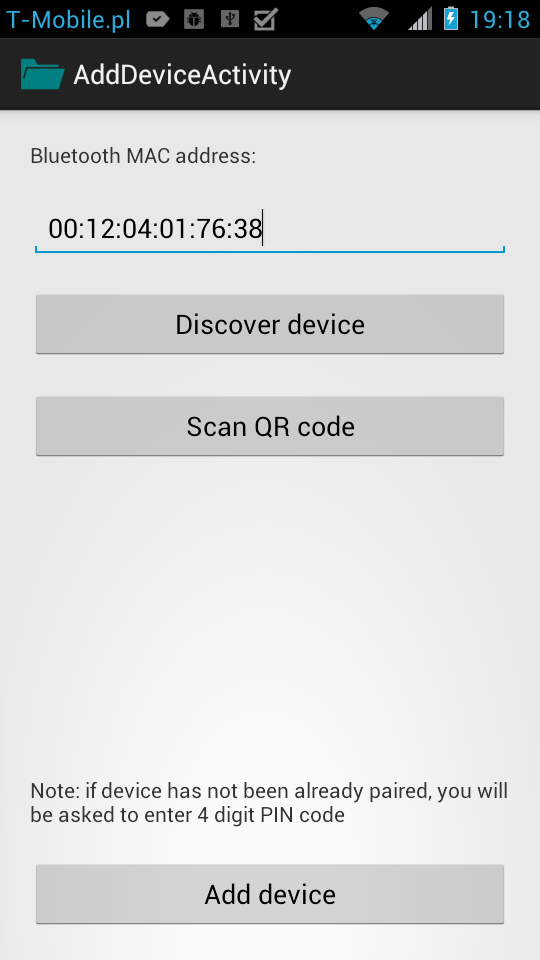
AddDevice: here we can add new InputStick device. In order to do that we need to know its MAC address. There are three possible ways to enter it: scan QR code, use Bluetooth discovery or just manually type it. When correct MAC address is entered application can move on to the next step.


Verification: in this step DeviceManager attempts to connect to given MAC address and confirm that it is in fact compatible InputStick device. If everything goes OK, device is added and we are asked if we want to edit its properties.


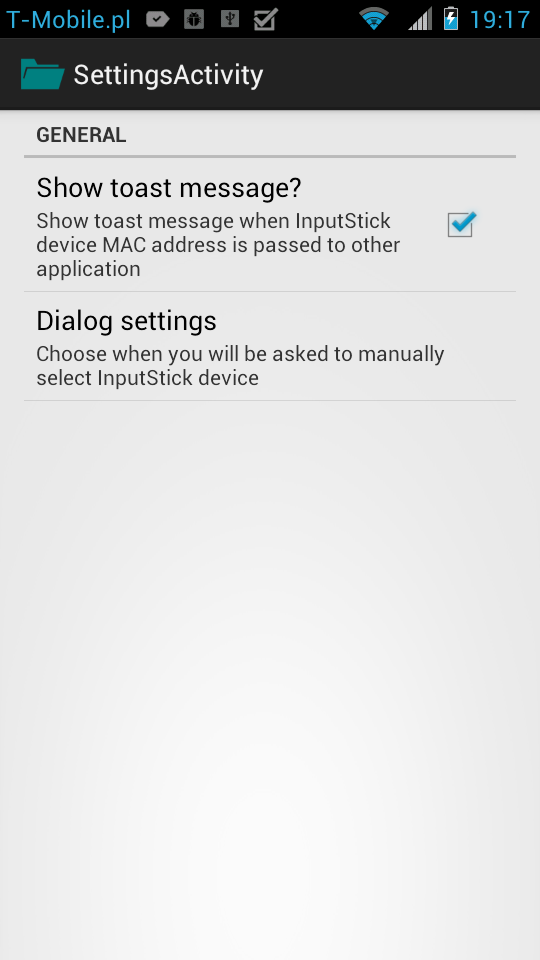
Settings: here we can choose if we want to be notified everytime some application receives MAC address. We can also specify under what conditions we will be asked to manually select InputStick device. There are three possibilities: 1) Always - dialog will be displayed everytime, even if there is only one InputStick available (this way we are always aware of the fact that some application attempts connection). 2) Only if necessary - dialog will be displayed only if there is more than one InputStick device associated. If there is only one, user will not be bothered. 3) Never - if there is more than one device then the default one will be used (device can be marked as the default device). This is intended for cases when there are several devices associated, but only one of them is used 99.9% of time and we find dialog annoying.


Dialog: When some application wants to get MAC address of InputStick device, we will see following dialog: which will allow us to select desired device (of course depending on settings we may not see this dialog at all).