Wednesday 20 February 2013

New prototype

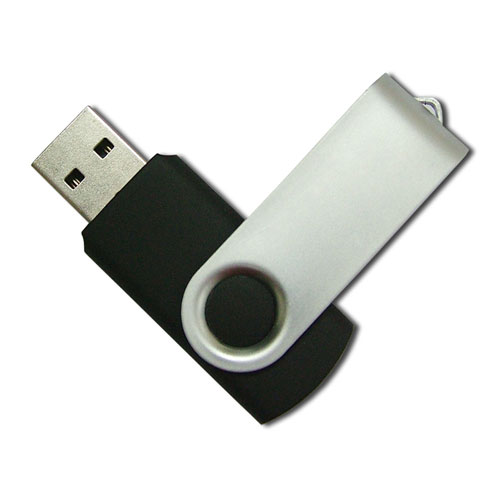
Previous prototype is great for development purposes (easy access to debugger interface), but for everyday use it's a little bit to big. I want to carry InputStick all the time, so I can finally store all my passwords in my Android password manager application (currently under development) and use InputStick to type them for me (some of them are 64 characters long! Just imagine typing that manually every time). So, I've decided to look for smaller enclosure, yet big enough to fit all InputSticks components inside. I've disassembled several USB flash drives, to see if I will be able to reuse their enclosures for InputStick. Most of them were just a little bit to narrow, even to fit Bluetooth module, which is 13 mm wide. Finally, I got my hands on this USB flash drive enclosure:


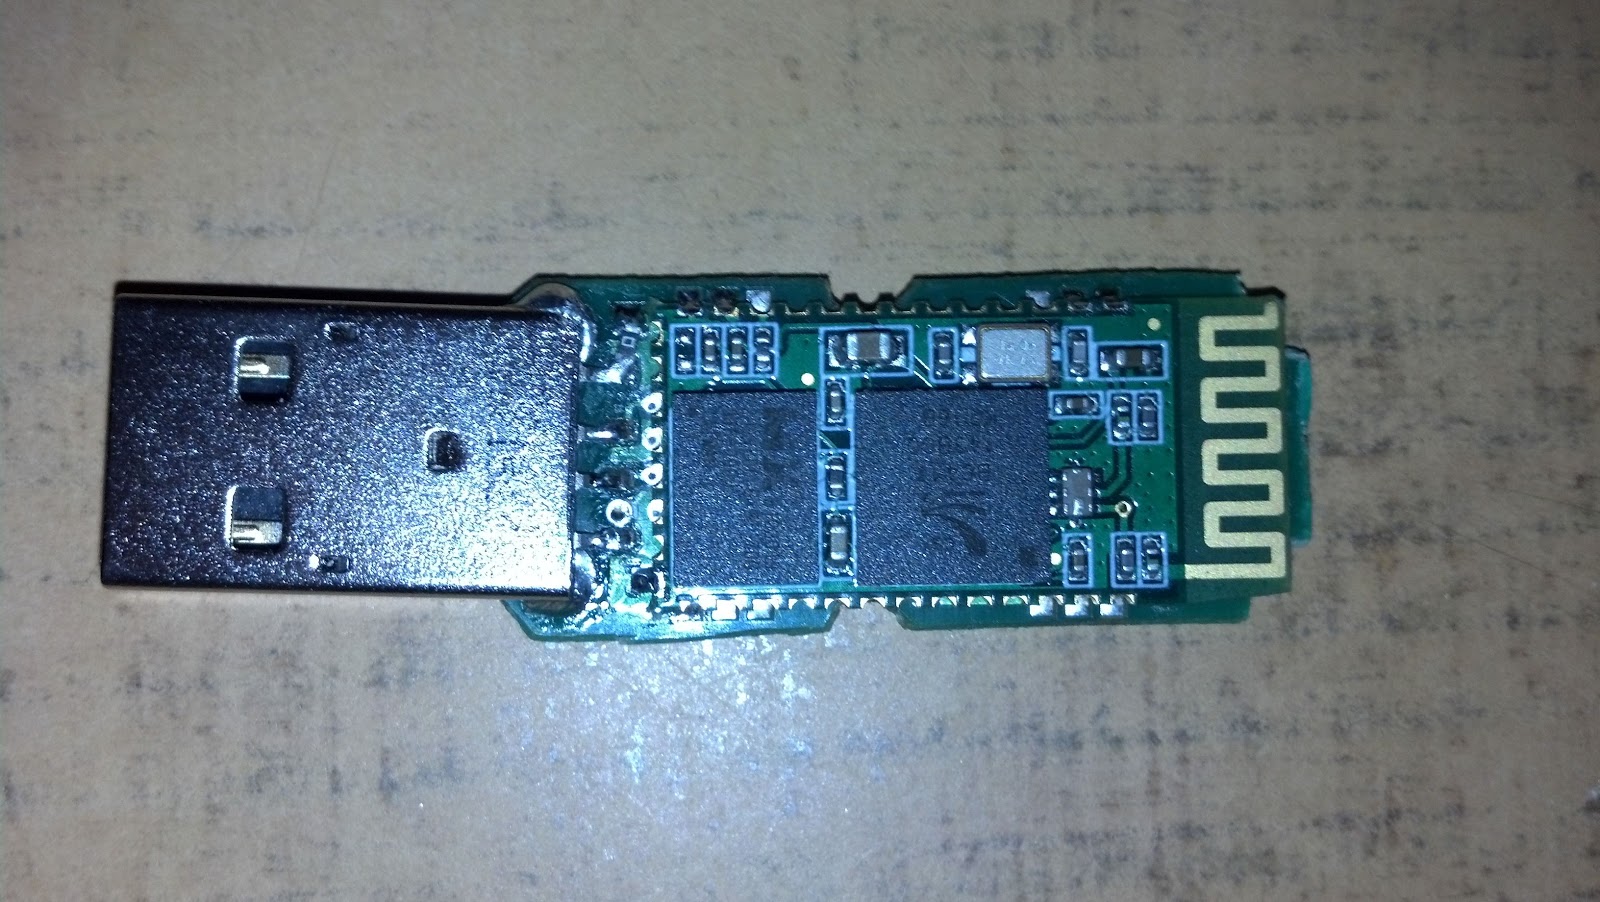
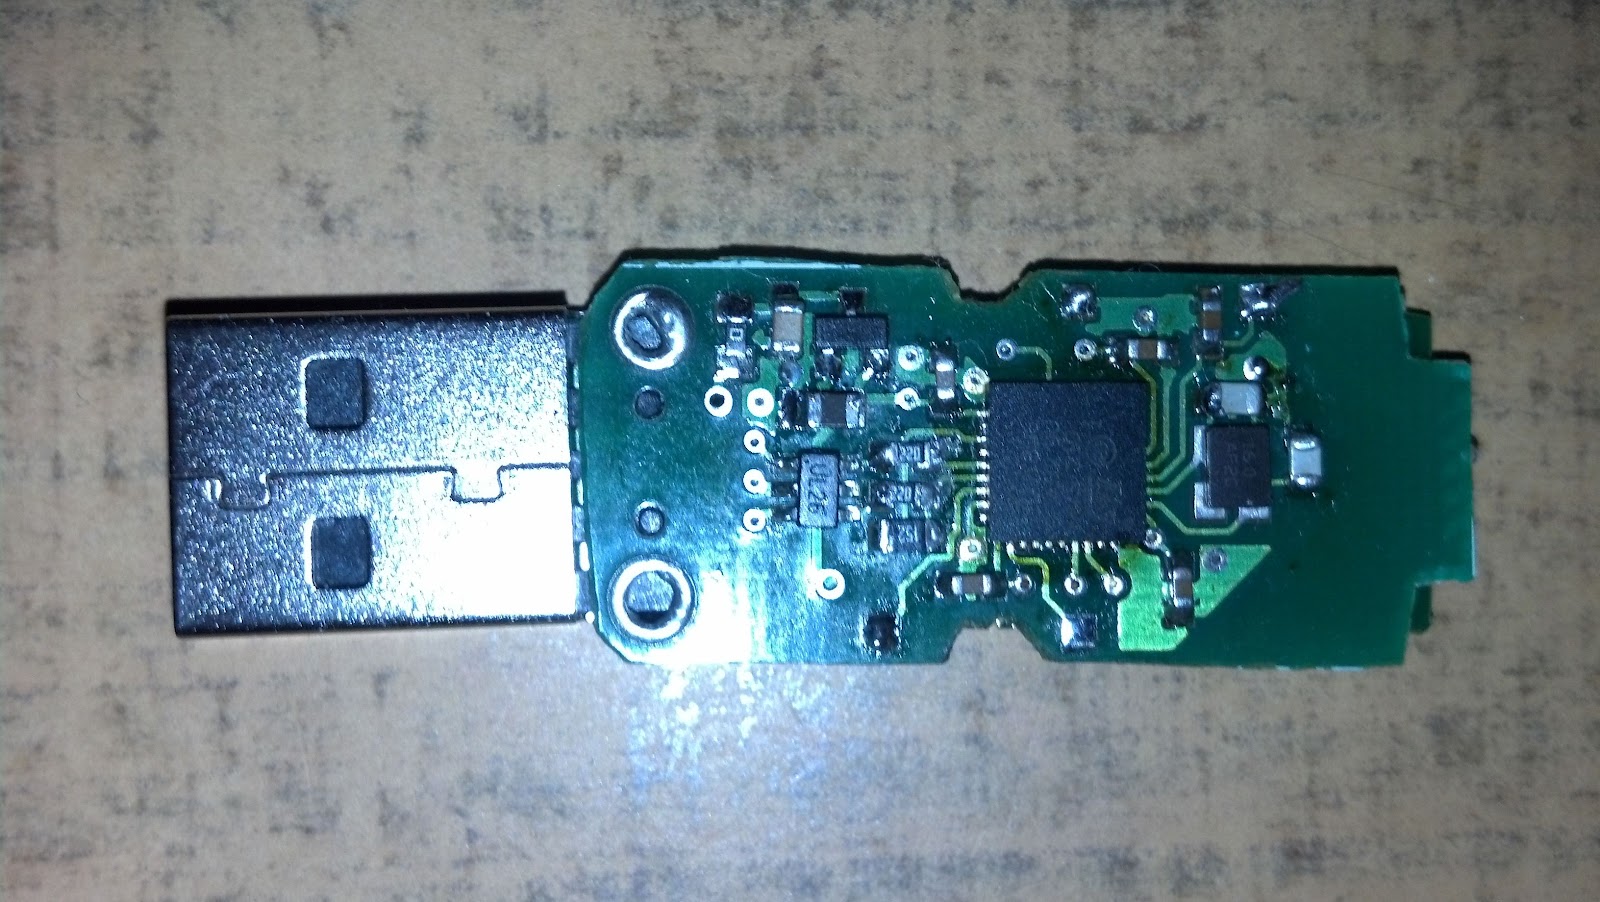
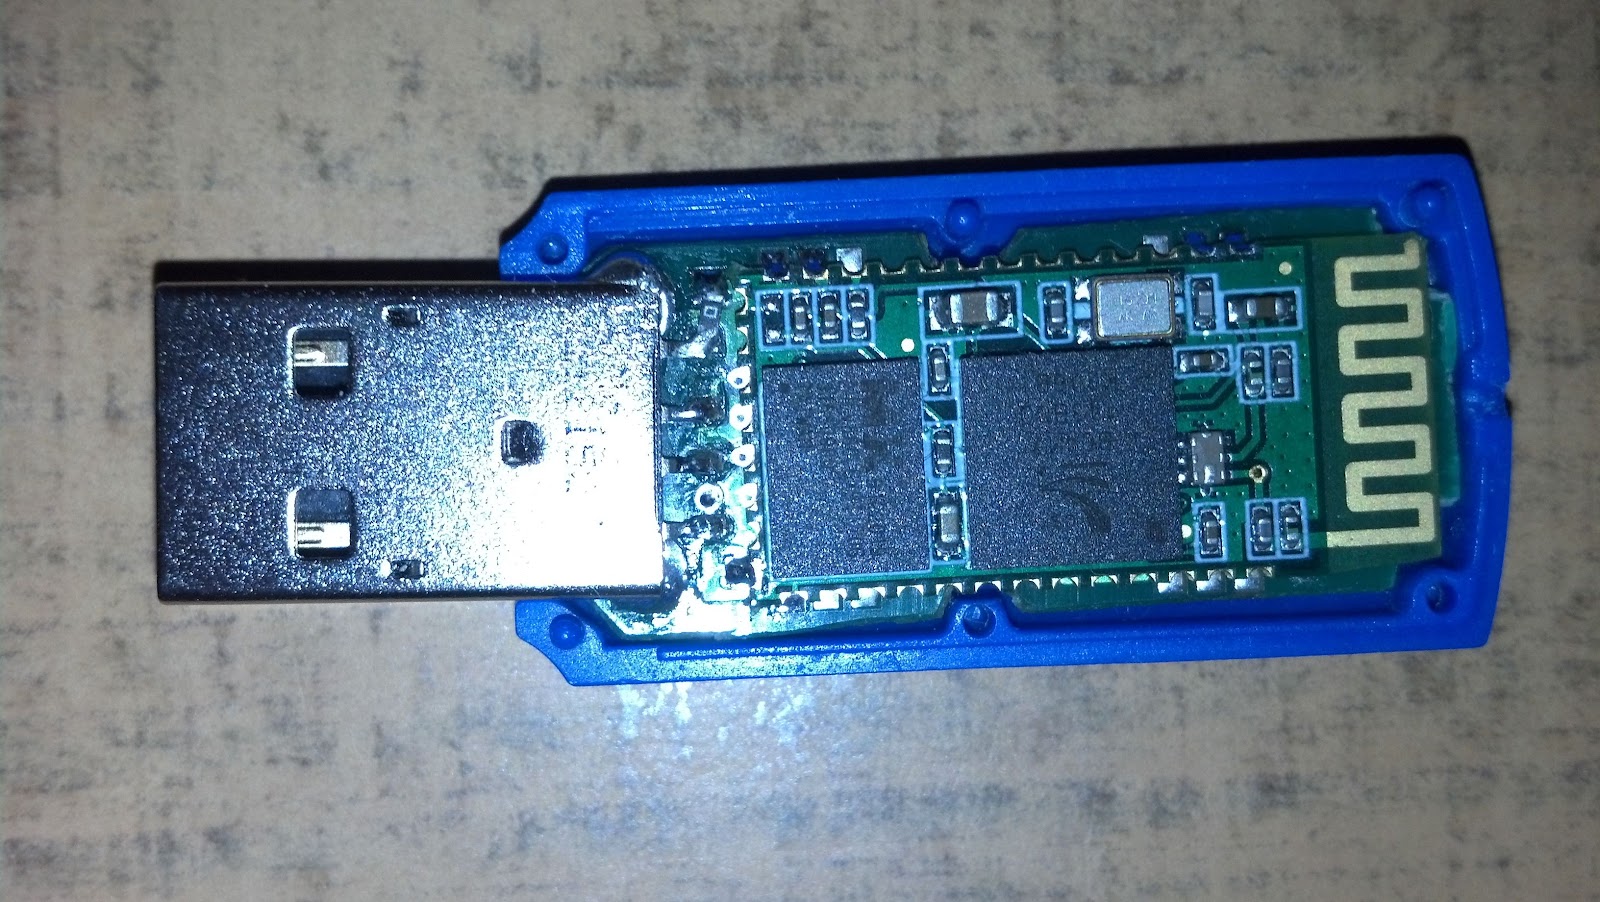
After taking some measurements it started to look promising, its internal dimensions are: 16mm x 36mm. I started to work on new revision of PCB. Placing components and routing traces was much more difficult task this time, yet I managed to remain with 0603 resistors/capacitors. Maybe its time to finally switch to 0402? I remember that some time ago I thought that 0603s were hard to hand solder. However, because of space constraints I had to change package of STM32 chip from 48pin LQFP to 36pin QFN, so this time I had to use hot air soldering station. Here you can see results:


As you can see, one side of the PCB is occupied almost entirely by Bluetooth module. USB plug is a little bit crooked... well, I could fix it if i wanted to, but for now I don't mind. It's just a prototype. Now my main problem is difficult access to programming interface, but I'm going to solve this with bootloader which will allow to remotely update firmware. For debugging purposes I will stick to previous prototype.


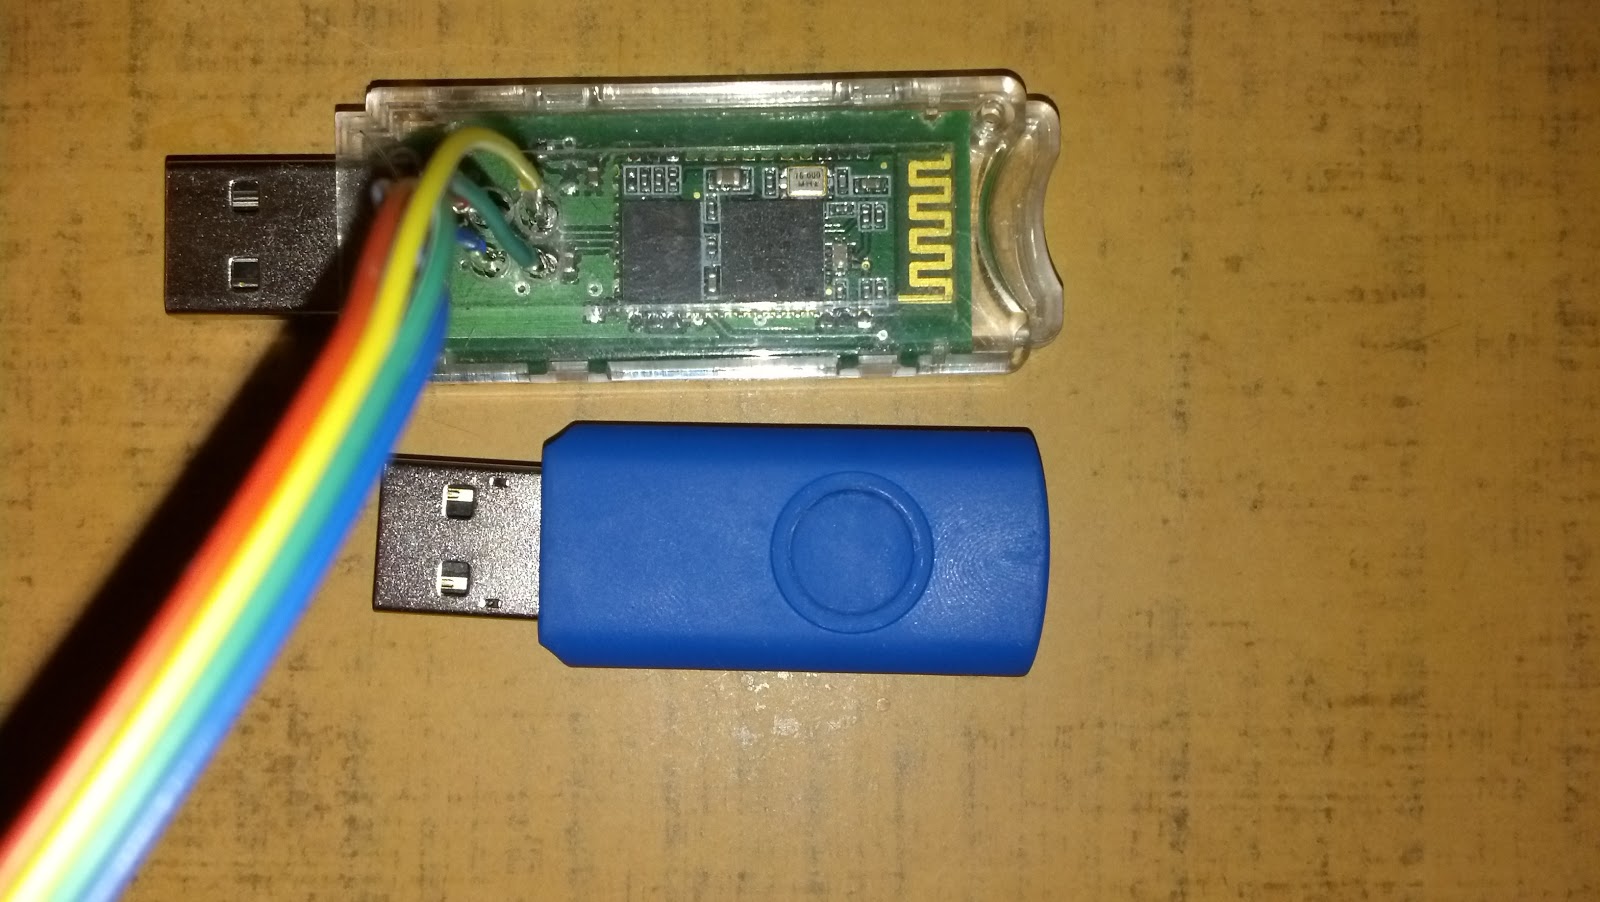
As you can see on the picture above, unless I use different Bluetooth module, current prototype is as small as it can get. Compared to previous one, new prototype is considerably smaller: 52mm x 19mm vs 70mm x 23mm (including USB plug):


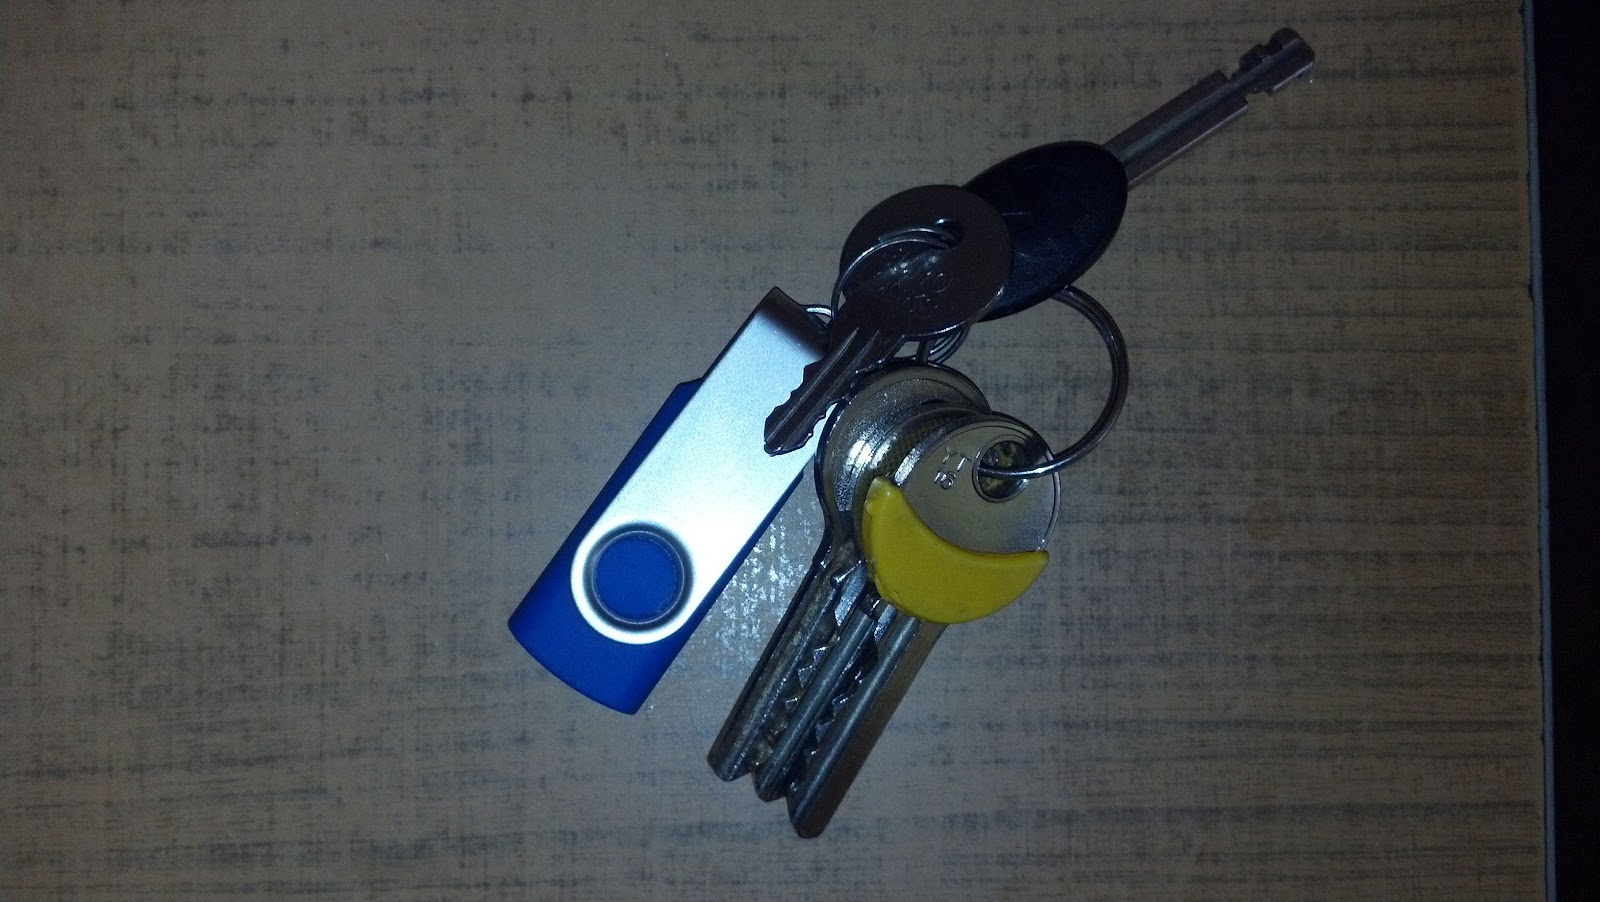
It can be attached to a keyring:


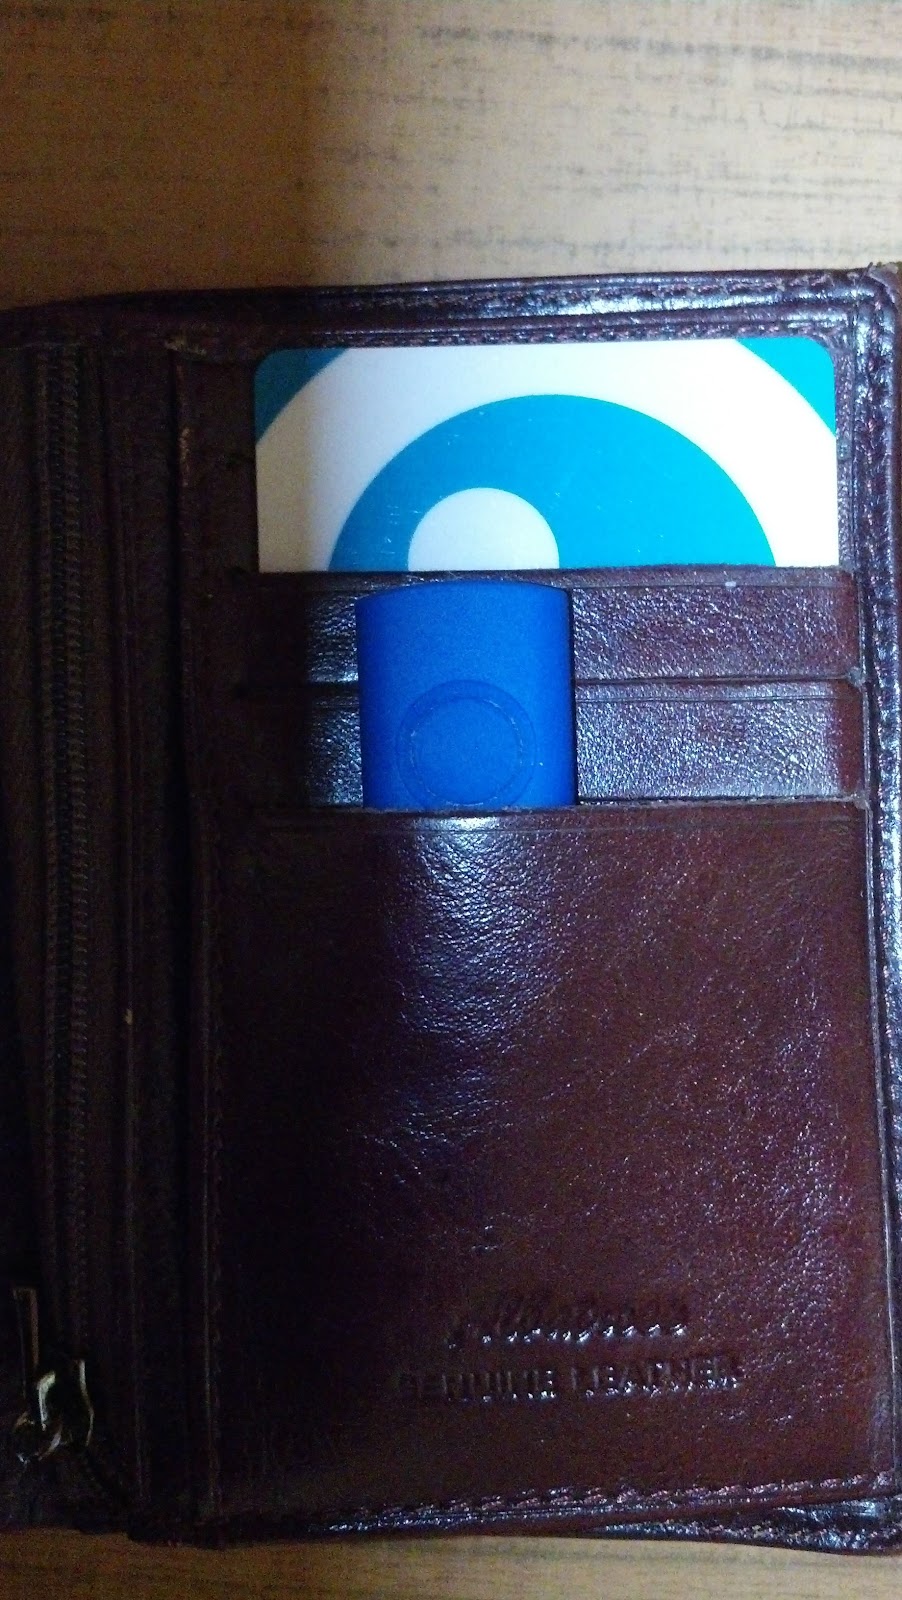
or with the metal cap removed, it can even fit into a wallet:

Tuesday 12 February 2013

Library: USBMouse implementation

Today I'm going to show you how to implement USB mouse emulation using InputStick library. In order to understand what's going on you need to have at least some basic knowledge about USB and HID (Human Interface Device) class. At this moment I'm not going to explain every detail, although I think about writing detailed tutorial at some point in the future. My goal for today is to show, that using InputStick library, which takes care of many USB related details, it is possible to implement simple USB device in approximately 100 lines  of code. If you want to learn more about USB and HID there are many good materials available on the Internet:

At this moment InputStick library is still under development. Current version has some limitations:
  • only HID class is supported.
  • only 1 device configuration supported.
  • only 1 interface supported.
  • total size of all descriptors must be lass than 512 bytes.

In final release I hope to solve at least some of this problems. Adding support for more interfaces and additional USB classes has highest priority. 512 bytes limit may be hard to overcome, due to memory limitations of microcontroller used in InputStick device, however it should be more than enough for most cases.
 
Brief description of Java classes used in this example:
 
  • USBDevice - every USB device must inherit from this class, which stores device related data and takes care of communication with InputStick device.
  •  
  • USBDeviceData - stores data describing the USB device.
  •  
  • USBDescriptor - abstract class used as a base class for specific USB descriptors (Device, Configuration, Interface, etc.). Descriptors are a data structures containing information about USB device, what allows USB host to learn about devices capabilities.
  •  
  • EndpointConfig - stores USB endpoint configuration: type, direction, size etc.
  •  
  • EndpointBuffer - FIFO data buffer for a USB endpoint.
 
Before going to implementation I will briefly describe USB mouse protocol. USB mouse uses one IN endpoint (data goes from device to USB host). Mouse sends data to host using USB reports. In most simple case, which is presented here (mouse with two buttons), report consists of 3 data bytes: state of buttons, change in X coordinate, change in Y coordinate. Some examples:
 
{0x00, 0x0A, 0x00} - moves pointer 10 pixels right.
{0x00, 0x00, 0x05} - moves pointer 5 pixels down.
{0x01, 0x00, 0x00} - left button pressed.
{0x02, 0x00, 0x00} - right button pressed.
{0x03, 0x00, 0x00} - both buttons pressed.
{0x00, 0x00, 0x00} - all buttons released.
 
Now let's take a look at the implementation:


If you're familiar with USB and HID, comments should more less explain everything what's happening. If not, well, take a look at sites linked at the beginning of this post, USB is not as difficult as it may seem :)